
You must also have seen viral cricket videos on social media, in which an effect is added, i.e. the ball is shining, the ball is shining. It’s not magic, it’s possible through editing. If you also want to know how this kind of editing is done and you also want to edit your videos in the same way and become viral on social media, then you have reached the right place, here you will be told about the cricket ball glowing effect step by step.
Step-by-Step Guide to Creating the Glowing Effect
1: Import Your Video
Choosing Video: First, open the editing tool on your device and import the video you want to edit. This video can be a great boundary, a wonderful wicket, or even a funny cricket moment. Place On Timeline: Place the selected video on the timeline.
2: Create a New Layer for the Glow Effect
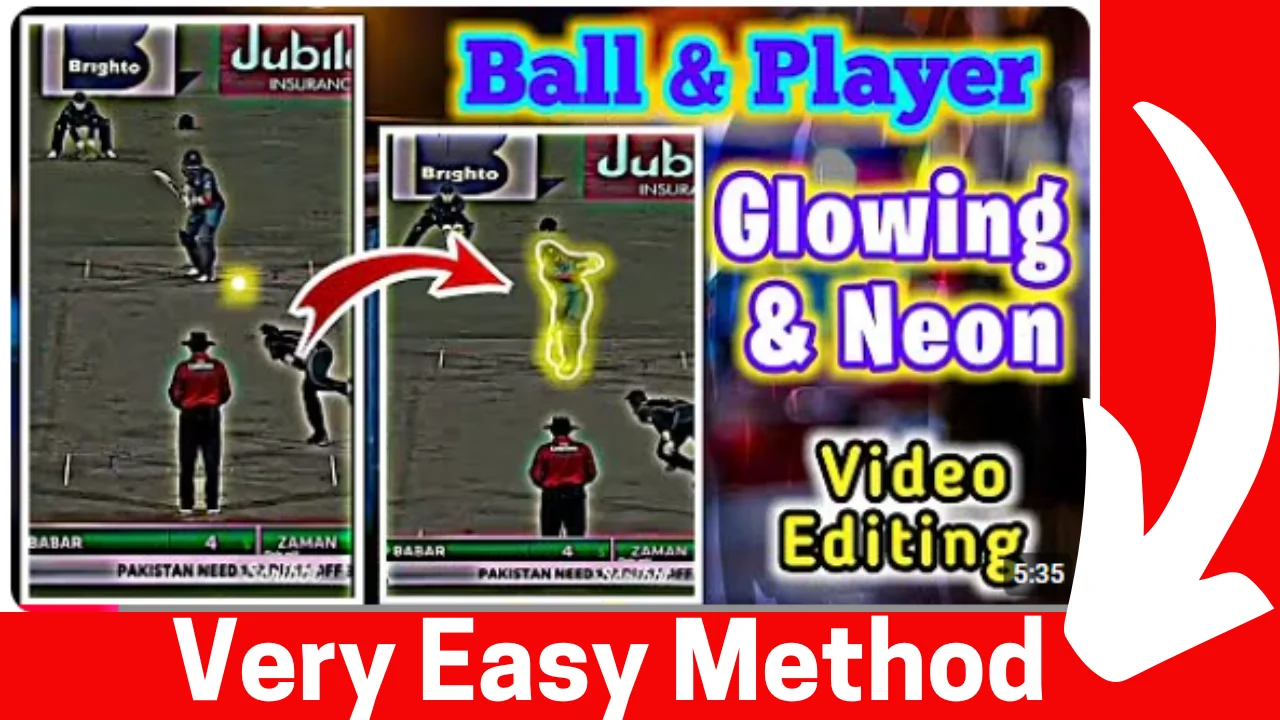
Duplicate Layer: Duplicate the video layer to apply the glow effect. Masking: Make a mask around the cricket ball.
3: Apply the Glow Effect
Glow Effect: Add a glow or light effect from the Effects panel. Adjustment: Adjust the intensity, color, and spread of the glow to match the scene.
4: Enable Keyframing
Move the play head to the starting position where the ball should shine.
Click the Keyframe button in the glow effect settings (usually under Opacity, Intensity, or Position).
As the ball moves, adjust the position and intensity of the glow by adding keyframes at different points.
5: Adjust Motion Tracking (If Needed)
Motion Tracking: If the ball moves fast, use motion tracking to keep the glow effect perfectly aligned with the ball. Some software like After Effects allows automatic tracking to make the process easier.
6: Refine the Effect
Smooth keyframes for a more natural glow transfer.
Adjust the blending mode to make the glow more realistic.
7: Export the Video
Once satisfied, render and export the final video in high quality.
Share it on social media and make your cricket clips awesome!
How To Create Cricket Ball Glowing Effects Using a Mobile App
If you have only one mobile device and want to add glowing effects to cricket videos from your mobile, then some apps provide keyframing and glow effect options in your videos. Such as CapCut Kine Master and Alight Motion.
Step 1: Install a Video Editing App
You can use any of these applications by downloading them from the Play Store or App Store.
Step 2: Import Your Video
- Open the app and create a new project.
- Tap Import and select your cricket video from the gallery.
- Place it on the timeline.
Step 3: Duplicate the Video (For Better Effects)
- If your app supports layers, duplicate the video to work on the glow effect separately.
- This helps in applying effects without affecting the original video.
Step 4: Add a Glow Effect
- Go to the Effects Panel (usually under “Video Effects” or “Filters”).
- Search for the Neon, Glow, and Light effect.
- Apply any of these effects and adjust the light.
Step 5: Use Keyframing To achieve
- You can select the ball in the video using the Mask Tool (if available) or manually adjust the glow effect.
- Enable Keyframes:
- Move to the start of the video and place a keyframe on the glow effect.
- As the ball moves, add more keyframes to adjust the position and size of the glow at different points.
- This creates a smooth glowing effect that follows the ball’s movement.
Step 6: Adjust Blending Mode for Realistic Glow
- If your app has blending modes, set it to Screen or Add to make the glow blend naturally with the video.
- Adjust the opacity to avoid making it look unnatural.
Step 7: Export and Share
- After reviewing the video for the last time, you can now export your video according to your preferred quality.
- Share your glowing ball video on social media and impress your audience!
Tips for a Professional Look
- A normal glow effect will make your video look realistic and eye-catching.
- Choose a brightness that suits your video.
- Experiment with different colors to see which color will look best.
FAQs:
- Is motion tracking necessary for this effect?
Yes, motion tracking ensures the glow follows the ball accurately.